
The reason I started my blog page was because of my daughter's rainforest diorama project.
Am I just obsessive-compulsive or do other parents stay up into the wee hours glueing sequins on cotton clouds and hanging plastic eagles with fishing line? (Don't answer that. Ha ha!)
Have you ever noticed that the science fair projects and open house displays require way too much attention span for a child to complete on his or her own? (Do I sound like Andy Rooney?)
Early into the week given to prepare the diorama, my daughter quickly became overwhelmed and distracted, and ended up playing with the supplies rather than putting together the project! She thought it was a lot more fun to paint her hands than it was to paint the box! (Let's see, six years old, six minute attention span. Sounds about right!)
Determined to "help" my first grader turn in a "decent" project, (or a pathetic subconscious desire for approval and applause on my part, you decide!), I initiated my online search for ideas. Once I googled "rainforest diorama", I found a mom in Australia's blog with the most FABULOUS step by step photos and instructions of how she and her child did their rainforest diorama project! I was so happy!
It totally inspired me, and I was so thankful to this mom that I wanted to respond to her blog. But you can't respond unless you're a member, so I had to start my own blog. Now I'm really glad I did, it's a lot of fun so far... (Now, if I can only figure out how to thank that mom in Australia.) Big Sister took all the photos so we could show our version of the Rainforest Diorama Project.
To make the "scenery" backdrop for the rainforest diorama:
1. Choose a large shoe box or a small shipping box to start.
2. Have your child paint the inside of the box in two phases. Sky and Trees.

3. First paint the sky.
We used four shades of blue for the four layers of the rainforest. Since the Emergent Layer is closest to the sun, we made it the lightest shade of blue; the forest floor is darkest, so it was darkest blue.

4. Once the sky has dried, have your child paint
brown tree trunks and green trees on the sides and bottom of the box.
To make the platform:
An adult should measure and cut a square piece of cardboard measuring twice the width as the box's bottom. This will be the base of a platform of trees that will slide inside the painted box when done. (The "stage" that will sit in front of the background "scenery" of trees your child painted).
Supplies needed:
Plastic table cover
old magazines, shipping envelopes
masking tape
plaster gauze (at craft store in paper mache section)
plastic bowl of warm water
scissors
cardboard
various shades of green tissue paper
various shades of blue tissue paper
blue and opalescent glitter
gold sequins
gold sequins
cotton balls
glue gun & glue sticks
white school glue
white school glue
clear tape
home-made bakeable modeling clay rainforest animals (snakes, turtles)
plastic rainforest animals (birds, land animals, crocodile, palm trees)
origami flowers or tissue paper flowers and butterflies
stickers of rainforest animals

1. Ball up magazine pages and masking tape them to the "back half" of the cut-out cardboard base to form a rectangular, bumpy mound of paper.
2. Roll up thicker pages (like the front and back covers of the magazine) to create an oval shape around the "front half" of the cut-out cardboard base to form the alligator pond. Add a couple of smaller balls to become pond "rocks".
3. Roll & tape short tubes around pond to become "tropical ferns".

4. Roll & tape taller tubes of different heights to become "trees". Add "branches" by taping scrunched up aluminum foil pieces or paper to upper trunk in letter Y shapes. (It doesn't have to be perfect, just have fun. It actually looks better when they're all different, like in nature.)
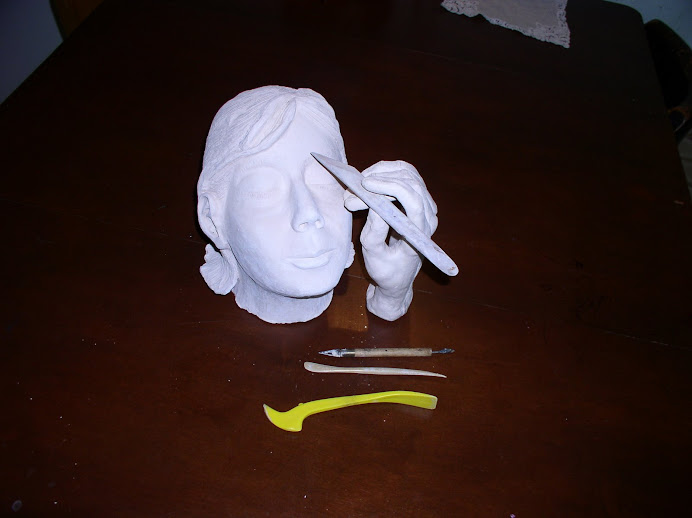
5. Cut plaster gauze into large an small strips. First use the large strips to cover the large areas of paper balls. Dip each strip into the bowl of warm water. Use your fingers to "squeegie" off extra water, lay the strip over the paper balls and gently blend the plaster with your finger.
Like paper mache, keep layering strips to cover the paper balls and tubes trees, ferns, rocks, etc.

6. After the plaster dries (10-15 minutes), paint it with acrylic paints. We used a mixture of browns and greens for the tree and fern trunks, and for the ground.
7. Rip thin strips of green tissue paper and glue to cover ground with "grasses and plant leaves". Crumple up and twist larger pieces of dark and light green tissue paper, tape with clear tape to attach to tree branches.

8. Paint the "pond" blue (same paint as used for sky background). When dry, paint with white glue and sprinkle with blue glitter. Rip thin strips of light and dark blue tissue paper to make a "cascading waterfall", paint with downward stripes of glue and sprinkle with glitter. Glue gun rocks into position in and around the pond.
 9. Add alligator to pond. Put leoopard on land. Glue or clear tape monkeys, macaws, gorillas, etc. to trees. Put turtles, lizards on ground near water. Add snails and insects to ground.
 11. Touch up paint anywhere that shows plaster.
12. Add origami or tissue paper flowers.

13. Cut top corners of box to "open up" the sky. Stretch cotton balls and glue gun to cardboard line to make clouds. Dot with sequins or opalescent glitter.
TA DA! All Done! Only five hours, and it looks AWESOME doesn't it?

Not bad for a 42 year-old first grader, eh?
j/k


3 comments:
Hi! Nice to hear from you over at inallhonesty here in Melbourne, Australia. Glad you found the rainforest project inspiring!
Thanks for your pictures! My son has a 4th grade project due next week. This helped us with ideas and a shopping list. It is nice to know your hardwork is still helping others in 2010! Thanks.
Thank you for this!
I waited way to long for working on my daughter's rainforest project. I have been dreading it! Some of the projects the kids are assigned they are too fiddly for a second grader.
Post a Comment